 Single Faucet Kegerator Beer Dispensers
 Dual Faucet Two Tap Kegerators
 Triple Faucet Three Tap Kegerators
 Undercounter Built-In Kegerators
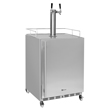 Outdoor Kegerator Beer Dispensers
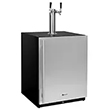 ADA Kegerators
 Commercial Kegerators
 Mini Kegerators
 Home Brew Kegerators
 Carbonated Water Kegerators
 Cold Brew & Nitro Coffee Dispenser Kegerators
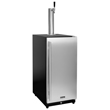 15" Kegerators
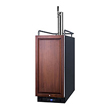 Panel Ready Kegerators
 Kombucha Equipment
 Guinness® Dispensing Kegerators
 Wine Kegerators
 Kegerator Cabinets
 Kegerator Covers and Accessories
 Kegerators
 Kegerator Conversion Kits
 Kegs & Keg Accessories
 Beer Faucets
 Beer Shanks
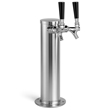 Draft Beer Towers
 Keg Taps Couplers
 Regulators & Gas Equipment
 Beer & Gas Line Hose
 Co2 and Nitrogen Air Tanks
 Beer Line Cleaning Equipment
 Drip Trays
 System Fittings
 Jockey Boxes
 Keg Beer Party Pumps
 Glassware
 Guinness® Dispensing Equipment
 Remote Glycol Systems
 Wine Cooler Refrigerators
 Side by Side Wine Cellars
 Cooling Units
 Panel Ready Wine Refrigerators
 Beverage Centers
 Wine Racks
 Wine Dispensing Systems
 Wine Accessories
 Wine Making
 Nitro Hot Draft System
 Ready to Drink Bag-in-a-Box Coffee Dispensing Equipment
 Nitrogen Infusers
 Nitrogen Tanks & Generators
 Nitrogen Beer Regulators
 Nitro Cold Brew Coffee Kegs
 Cold Brewed Coffee Tools
 Cleaning Equipment
 Outdoor Appliances
 ADA Appliances
 Panel Ready Appliances
 Commercial Grade Appliances
 Refrigerators
 Drawer Refrigerators
 Ice Makers
 Water Dispensers & Accessories
 Freezers
 Home Brew Equipment Kits
 Fermentation Equipment
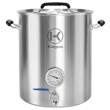 Boiling and Mashing Equipment
 Home Brew Beer Kegs
 Home Brew Kegerator Conversion Kits
 Brewing Tools
 Home Brew Ingredients
 Cleaning Chemicals
 Test Equipment
 Home Brew Beer Bottles and Bottling Equipment
 Brewery Fittings
 Draft Beer Equipment
 Homebrewing Equipment
 Wine Equipment
 Luxury Appliances and Refrigeration
 Coffee Equipment
 Kombucha
 The Beverage Blog
 Frequently Asked Beer Questions
 Shop by Brand
 Shop by Category


May 28, 2017
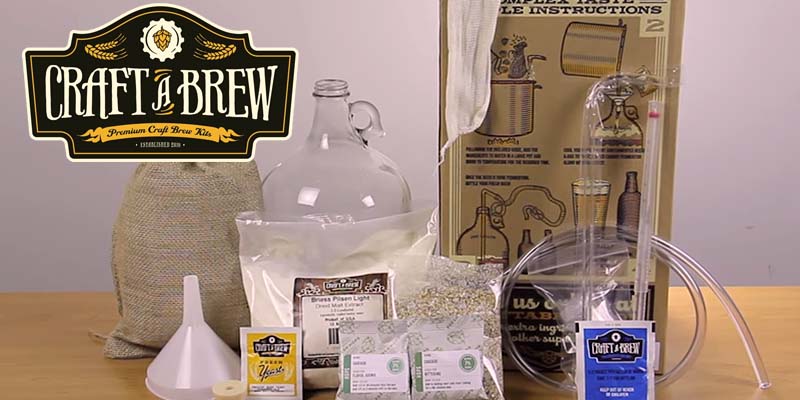
In this video, a member of our web team shows us how to brew utilizing a 1-gallon Craft-A-Brew brew kit from start to finish.
Craft A Brew kits are great because they include just about everything you need to brew a 1 gallon batch of beer right from your kitchen counter, without having to worry about purchasing all the different homebrewing components separately. The batch size is small enough that it can be brewed in many standard stock pots and stirred with a standard cooking spoon. We use a brew bucket to hold our sanitizer, but any container large enough to submerge the equipment will do.
Before you begin
It's a good idea to read through the included instructions multiple times until the process makes sense to you. We've condensed the instructions for the sake of time and presentation.
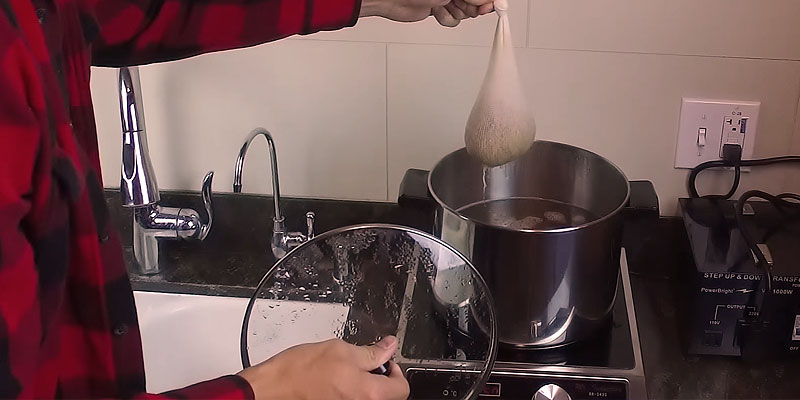
Begin by filling the pot with 1 gallon of water and heating to 150°F. While the water is heating, you can prepare the grains by pouring them into the grain bag and tying off the top. Once water is at temperature, steep the grains for 15 minutes. This should be a gentle process, you do not want to leave behind pieces of grain.
At the conclusion of 15 minutes, discard the grains, then remove the pot from the burner and begin to stir in your malt extract. Stir thoroughly to break up the powder and make sure there are no chunks. Once mixed, place the pot back on the burner and bring the mixture to a rolling boil. Once boiling, add your bittering hops and start the 1-hour boil timer. At 30 minutes, pour in half of your flavor/aroma hops. While the wort is boiling, sanitize your equipment in a container. Use half the sanitizer now and save the other portion for the bottling phase. When the boil is almost complete, create an ice bath for the post boil process. With 2 minutes left in the boil add the remaining aroma hops. After the hour boil, transfer the pot to the ice bath.
Almmost there...
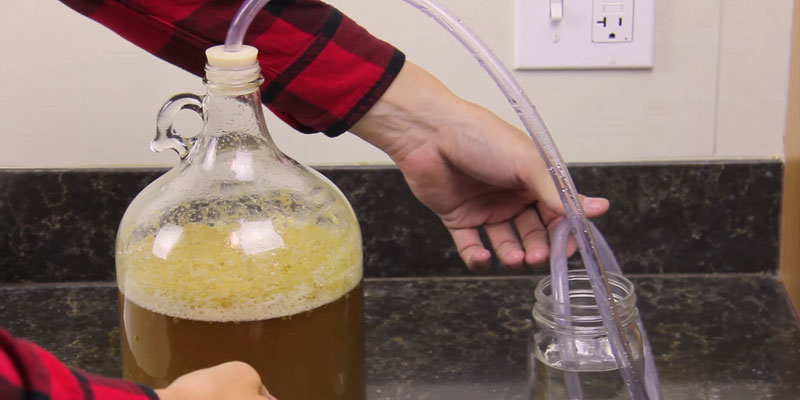
Once the temperature reaches 75°F remove the pot from the ice bath and transfer it to the sanitized glass carboy using the funnel. Try to avoid pouring in any spent hops or other matter from the bottom. Add the yeast to the mixture, cap the carboy, plug the hole with your clean thumb and shake vigorously for 1 minute in order to aerate the wort.
Last step of day 1
The final step of day one is to create a blow off assembly to ensure your beer doesn't overflow during the fermentation process. Do this by plugging the sanitized tubing about a half an inch into the hole in the carboy cap, while placing the other end of the tubing in a full glass of water. This allows for excess gas to escape through the tubing safely.
After a few days, when the fermentation process calms, fill the airlock halfway with a little sanitized water and insert it into the stopper. Two weeks of fermentation in a dark place between 60-75°F is recommended.
When the yeast has completed the fermentation process, it is time to bottle your beer, but first you have to create a little bit more yeast food in order to naturally carbonate the bottles. To do this, heat up some water and add two tablespoons of sugar. Then, stir in the sugar and bring to a rolling boil for 5 minutes before turning off the heat.
Clean, clean, clean
Next, you need to sanitize the bottling equipment. Mix your remaining sanitizer with water in a container. Submerge the tubing, racking cane, bottles, and caps in the solution.
Once your equipment is sanitized, it's time to siphon the wort from the carboy to the pot of sugar water. Start by filling the tube with sanitizer to get it started, then insert the racking cane into the carboy. Siphon the sanitizer into a separate container and when wort starts coming out of the tubing, transfer the tubing back to the pot. Once the majority of the liquid is siphoned, (taking care to avoid solid material at the bottom) you can return the racking cane and tubing to the sanitization bucket and stir the wort and sugar water solution.
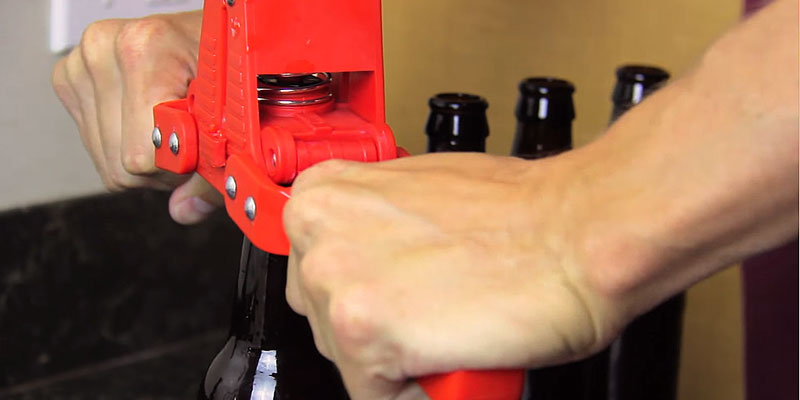
Siphon the same way you did from the earlier step, and fill up the bottles about two inches from the top. Cap the bottles using the press and place them in a cool, dark place for two weeks. At the end of that timeframe, refrigerate and enjoy your first homebrew!
The Craft-A-Brew kit was the perfect dive into brewing for me. The actual process didn't take too long to perform, and the provided instructions do a great job of guiding you through the steps of how to brew. Now that I have all the equipment, I can try out all the different recipe kits. I also have a good idea of how the brewing process works if I ever decide to step up to all-grain brewing in bigger batches. I would definitely recommend this product for anyone interested in learning how to brew. Cheers!