 Single Faucet Kegerator Beer Dispensers
 Dual Faucet Two Tap Kegerators
 Triple Faucet Three Tap Kegerators
 Undercounter Built-In Kegerators
 Outdoor Kegerator Beer Dispensers
 ADA Kegerators
 Commercial Kegerators
 Mini Kegerators
 Home Brew Kegerators
 Carbonated Water Kegerators
 Cold Brew & Nitro Coffee Dispenser Kegerators
 15" Kegerators
 Panel Ready Kegerators
 Kombucha Equipment
 Guinness® Dispensing Kegerators
 Wine Kegerators
 Kegerator Cabinets
 Kegerator Covers and Accessories
 Kegerators
 Kegerator Conversion Kits
 Kegs & Keg Accessories
 Beer Faucets
 Beer Shanks
 Draft Beer Towers
 Keg Taps Couplers
 Regulators & Gas Equipment
 Beer & Gas Line Hose
 Co2 and Nitrogen Air Tanks
 Beer Line Cleaning Equipment
 Drip Trays
 System Fittings
 Jockey Boxes
 Keg Beer Party Pumps
 Glassware
 Guinness® Dispensing Equipment
 Remote Glycol Systems
 Wine Cooler Refrigerators
 Side by Side Wine Cellars
 Cooling Units
 Panel Ready Wine Refrigerators
 Beverage Centers
 Wine Racks
 Wine Dispensing Systems
 Wine Accessories
 Wine Making
 Nitro Hot Draft System
 Ready to Drink Bag-in-a-Box Coffee Dispensing Equipment
 Nitrogen Infusers
 Nitrogen Tanks & Generators
 Nitrogen Beer Regulators
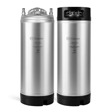 Nitro Cold Brew Coffee Kegs
 Cold Brewed Coffee Tools
 Cleaning Equipment
 Outdoor Appliances
 ADA Appliances
 Panel Ready Appliances
 Commercial Grade Appliances
 Refrigerators
 Drawer Refrigerators
 Ice Makers
 Water Dispensers & Accessories
 Freezers
 Home Brew Equipment Kits
 Fermentation Equipment
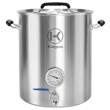 Boiling and Mashing Equipment
 Home Brew Beer Kegs
 Home Brew Kegerator Conversion Kits
 Brewing Tools
 Home Brew Ingredients
 Cleaning Chemicals
 Test Equipment
 Home Brew Beer Bottles and Bottling Equipment
 Brewery Fittings
 Draft Beer Equipment
 Homebrewing Equipment
 Wine Equipment
 Luxury Appliances and Refrigeration
 Coffee Equipment
 Kombucha
 The Beverage Blog
 Frequently Asked Beer Questions
 Shop by Brand
 Shop by Category


September 13, 2021
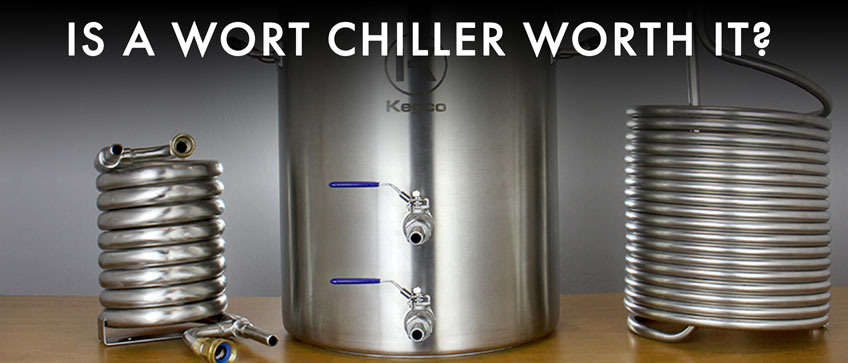
As a beginning homebrewer, cutting equipment costs can be extremely helpful. Perhaps, you're trying to brew on a budget and we totally understand that. So, which pieces of equipment are and aren't essential. Well, we're here to give you some answers to help you make the right decisions. With over two decades of experience providing homebrewing supplies, we definitely know a thing or two about how to properly homebrew.
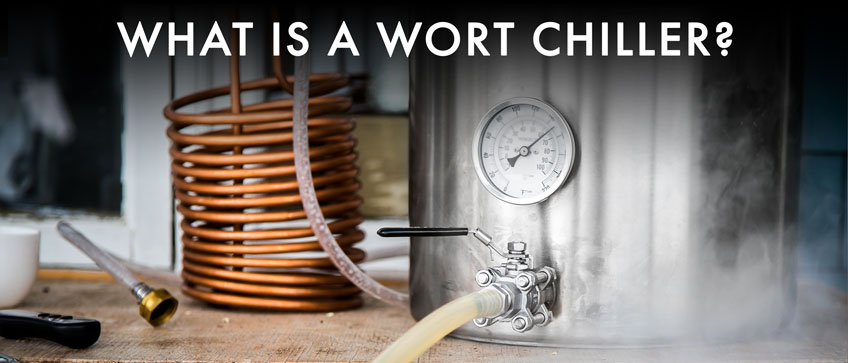
What is a Wort Chiller?
A wort chiller is a device that allows the homebrewer to bring boiling wort down to yeast pitching temperature in a fraction of the time an ice bath takes. These devices come in a variety of shapes and sizes to suit your needs and the batch size you're brewing.
Why Do You Need to Chill Wort?
It is extremely important to chill wort to below 80 degrees as quickly as possible after the boil because this period of time is when the wort is most susceptible to bacterial contamination. Wort chiller minimizes any chance of infection and helps to produce clearer beer since it helps to facilitate cold break. A cold break is composed of protein and tannin complexes that become insoluble as the temperature of your wort drops, which means these solids drop from the liquid when the wort is transferred from the kettle to the fermenter. Essentially, a good cold break translates to clearer beer.
Alternatives for Chilling Wort
Here are the typical alternatives to using a wort chiller. While they are effective methods, there are downsides to using these methods. There are good reasons why wort chillers were invented and are popularly used for homebrewing. However, to understand the advantages of a wort chiller, you need to understand the various other methods used to chill wort.
Start Warm
Many homebrewers start their wort "warm", which means the wort is not chilled down completely. The cooling process is stopped 5 to 10 degrees Fahrenheit (3 to 6 degrees Celsius) short and then the yeast is pitched. Warm wort provides for a fast start, which will help the yeast colonize the wort faster and crowd out any stray bacteria; however, there are some things to consider before using this method.
While this is a faster start, the warmth of the wort will also propel any bacterial contaminants to grow faster as well. One big thing to keep in mind is that bacteria can multiply faster yeast so, you don't gain much from starting warm. Starting a fermentation warm can lead to more fermentation by-products in your wort. Starting warm also causes more potential cold break material remains to be dissolved into the wort. These by-products can contribute to haziness in your finished beer. If your goal is producing a "clean" tasting beer, starting at fermentation temperature is more advisable.
Topping Up with Cold Water
Extract brewing often requires boiling a concentration of wort that is smaller than the volume of the batch and after the boil, water is added to make the full-batch size. This water can greatly reduce the temperature of your wort. It is ideally best refrigerated beforehand and stored in an airtight container. Water that is exposed to the interior of the refrigerator can pick up flavors from other foods.
Prior to mixing the water with the wort, you should aerate the water thoroughly. This can be done by vigorously shaking the container for 45-60 seconds, or you can use a fish-pump aeration device or oxygen tank. Cold liquids can hold more gas than warm liquids, which means aerating your cold topping-up water can help greatly with overall aeration.
It is important that when mixing cold water and hot wort, you should add the cold water to your fermenter first, then slowly add the hot wort and stir the wort with a sanitized spoon. Doing the opposite could cause your glass carboys to crack.
One disadvantage of transferring hot wort into cold water without chilling it first is you carry all the potential cold break into the fermenter. If you want to get rid of this break material, you can initially transfer the wort to cold water in a sanitized bucket and wait about 15 minutes for the break material to settle out. Then, you can siphon the clear wort to your primary fermenter.
Chill in the Sink
A five-gallon or smaller batch of wort can be cooled by submerging the brew pot in a sink, given your sink is large and deep enough. This technique transfers the heat from the wort to the water. The best way to do this is to put a cover on the brewpot after the boil, place the pot in a sink, and fill the sink with cold water. To speed cooling, swirl the water in the sink every couple of minutes and change the water in the sink every five to seven minutes. You should also, stir the wort with a clean, sanitized spoon every time you change the water.
Once the brewpot has cooled to the point where you can comfortably touch it for a few seconds, check the temperature of the wort. Then, put some ice in the sink and fill it with water. To properly cool down your wort, quickly enough, you will need a total of about three to four pounds of ice per gallon of wort. This depends on how cold your wort is when you begin icing it. You will need to keep changing the water and adding more ice every time the ice melts.
While this can be effective, it isn't the easiest process or very convenient. It can also be quite messy with water potentially splashing everywhere. Once the wort is cooled to your target temperature, transfer it to your fermenter.
If you are using the cold-topping method, it is still a very good idea to use an ice bath because you want your wort cooled down as quickly as possible and cold-topping often isn't enough to get the wort to the ideal temperature. Also, when hot wort is splashed around, it can darken significantly. This can occur even if you are pouring the hot wort into cold water, especially if you're pouring it through a funnel. Whatever you do, don't pour hot wort through a strainer because this will definitely darken the wort and leave your beer prone to quick staling.
Finally, hot wort can cause scalds, and cooling it before moving prevents this. Even when wort is used to make starters, it should be chilled before transferring. This ensures that my light-colored worts won't scald. Cooling the wort before transferring also allows you to separate the wort from some of the cold break material.
If you are cooling your wort in the sink plus adding topping-up water, you don't need to cool the wort all the way down to fermentation temperature. Simply cool the wort to the point where you can comfortably touch the brew pot for a few seconds, then transfer the wort to your fermenter.
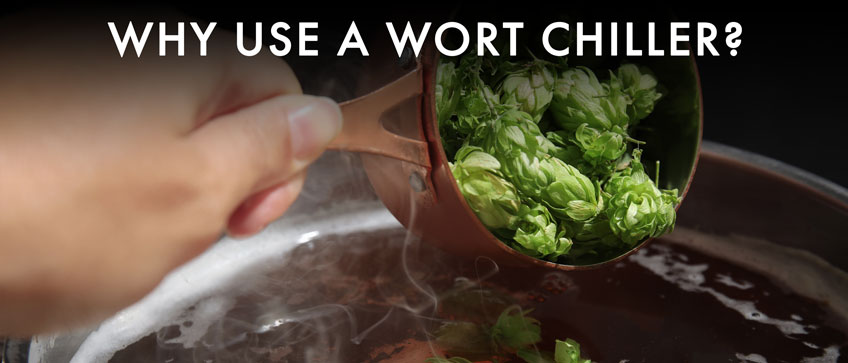
Why Use a Wort Chiller?
A wort chiller is the most time-saving and economical device a homebrewer can buy. It is the one thing that we highly recommend purchasing beyond a homebrew equipment kit. We have a full homebrew starter kit guide here, in which we go into detail about the necessary equipment to start your homebrewing journey. If you're a beginning homebrewer, you may also want to read our Top Tips for Beginning Homebrewers article.
As you have read, other methods used to quickly cool down wort are not nearly as convenient, quick, or effective. Thus, the invention of the wort chiller. A wort chiller is efficiently and quickly runs the wort through cooling coils, rapidly chilling the wort down, preventing scalding, color changes, and minimizing break materials in your final brew. There are two main types of wort chillers and they both have their benefits.
Types of Wort Chillers
Immersion Wort Chiller
Like we have discussed, It's possible to cool five gallons or more of wort in a sink or bathtub, but it will take a lot of time and ice water. Plus, moving gallons of hot wort and water can be dangerous and messy. An immersion chiller allows you to cool down gallows of hot wort without having to move a thing.
An immersion wort chiller is usually a very long copper coil with tubing or hoses attached and running from both ends. Essentially, cold water is pumped through the coils and carries the heat out of the wort. This system is not only quick and efficient but requires significantly less effort than an ice bath or other cooling methods.
To use an immersion chiller, place the clean chiller in your wort about 15 minutes before the boil is done to sanitize it. Hook one end of the chiller tubing to your water source and place the other end in a sink, near a drain, or anywhere that can accept hot water. You may need to weigh down the water exit end so it stays in place.
After the boil phase, turn on the water to the chiller. Using a clean pot holder or barbecue mitt, grab the top of the chiller and swirl it through the wort a few times to start the wort circulating. The circulating wort will flow past the chiller coils and keep cold wort from collecting around them. You should swirl the wort every five minutes or so. Placing a lid on the kettle slows down the cooling slightly, but it importantly prevents air-borne contaminants from falling into your wort. Once the outside of the kettle is cool to the touch, take the temperature of the wort every five minutes with a sanitized thermometer. When your wort is cooled to your desired temperature, transfer the wort to your fermenter.
Counter-Flow Chiller
The other popular type of wort chiller is a counter-flow chiller, which is essentially a tube within a tube. Hot wort flows into the chiller and travels through the inner tube while cold water flows in the opposite direction through the outer tube. As the wort moves through the chiller, it encounters ever-colder water and continually transfers heat to this water. Copper conducts heat much better than tubing so, the ideal chiller is constructed of copper.
Counter-flow chillers are typically attached to a valve on the kettle. After the boil, the water is turned on and the valve is opened. Hot, clear wort flows into the chiller, and cooled, cloudy wort exits the other end. A counter-flow chiller will quickly cool your wort down to pitching temperature, but the wort that comes from it will be cloudy. The wort is cloudy because it contains all the precipitated cold break solids. To get prevent this, you can direct your wort from the chiller to a sanitized bucket first. Once the break material has settled to the bottom of the bucket, you can transfer the wort to your fermenter and pitch the yeast.
The temperature of the wort exiting the chiller varies due to a variety of factors, such as, colder water temperatures, longer chiller lengths, more turbulence within in the chiller. These will increase the rate of chilling power. If you measure your wort temperature as it exits the chiller, you can change the wort flow rate with a tubing clamp to hit your target temperature.
To ensure your counter-flow chiller is clean for every use, run hot water through the wort line of the chiller immediately after use. Follow up with a cleaning solution and hot water. To sanitize, you can run sanitizing solution through the wort line or boil the entire chiller. If you choose to boil, fill the chiller with water first, place it in your kettle, and heat the water to boiling. Don't dunk a cold chiller into boiling water as that can cause the air inside to expand rapidly, and spray hot water from the tubes (and potentially damage the chiller).

Wort Chillers - Worth the Investment
When speed and efficiency are essential for brewing a crisp and clear beer, a wort chiller is well worth the cost. Other wort chilling methods may work but they aren't as safe, effortless, or efficient as using a wort chiller. When you're committing so much time and energy to making the perfect brew, you really don't want the smallest steps to ruin a beautiful brew. Wort chillers ensure your wort gets chilled to the correct temperature quickly and minimizes haziness in your wort.
While it is an investment, if properly taken care of, these wort chillers can last many years and for numerous brews. Plus, it will save you a lot of time during your homebrewing process. Need help selecting the perfect wort chiller for your brew? Contact our product experts at 800-710-9939.